simpleSSR hookup guide
Hardware overview:
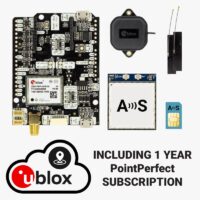
You can use simpleSSR Starter Kit as a standalone board or as an Arduino shield. With our adapter you can also connect it to Raspberry Pi.
The main component of simpleSSR are:
- simpleRTK2B V3 board based on u-blox ZED-F9P RTK GNSS module. If you want to explore all the possibilities of this board, we recommend to have a look at the dedicated simpleRTK2B V3 hookup guide.
- ArduSimple 4G NTRIP Client with integrated RTK-SSR-IP receiver engine. This module connects to RTK-SSR correction service and generated RTCM corrections for ZED-F9P. The 4G NTRIP Client is already pre-configured, you don’t have to update the firmware nor configure
Unboxing the kit:
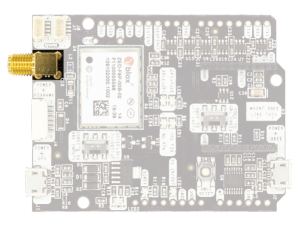
The kit comes already pre-configured and pre-assembled, you just need to connect the two 4G antennas as shown in the picture. You can use the self-adhesive if you are going to use the kit inside a box. It is recommended to place both antennas as far away as possible, to improve the signal reception. Connect the GPS/GNSS antenna to the SMA connector and place it in a location with good view of the sky.
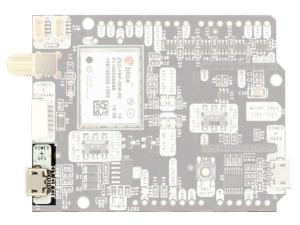
 Now connect a micro-USB cable to GPS+XBEE connector. Make sure you use a good USB cable as the board requires good power. Also don’t connect it to a USB hub, they usually can’t deliver much power.
First power up and reading position:
The first ever power up might take up to 5 minutes to start getting RTK. This is because there’s a one-time automatic activation. Subsequent power ups you should start seeing RTK after 1-2 minutes.
And that’s it! You can now enjoy NMEA streams with RTK accuracy in one of the available interfaces:
- USB “POWER+GPS”
- Pixhawk JST connector (3.3V TTL UART)
- Arduino Rails (Configurable 1.8 to 5V TTL UART)
- I2C (Qwiic compatible)
(Optional) Checking RTK status with Windows PC
Take the USB cable that you wired to POWER+GPS and connect it to your PC. You will see a new COM Port under Device Manager. Write down its number.
Download and open the Windows tool u-center: https://www.u-blox.com/en/product/u-center
If you only have one COM port in your PC, u-center will connect automatically to your kit and you will start seeing data on the screen right away. If it doesn’t, go to the menu bar to Receiver->Connection and select the right COM port. If you selected the right COM port, you should immediately start seeing data displayed on your screen.
Let’s now do a couple of checks together.
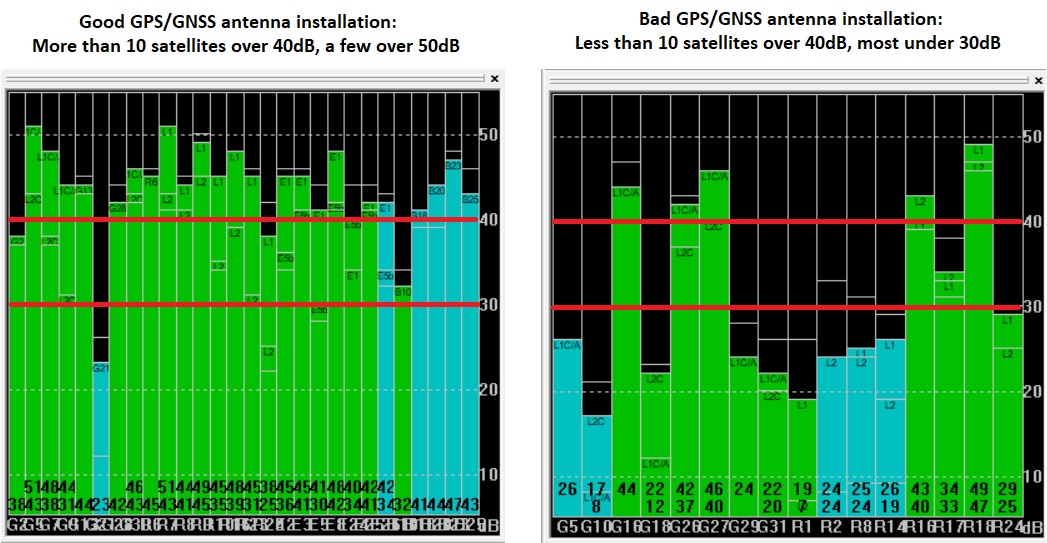
In order to achieve RTK, we need good GNSS signals:
If you don’t find this diagram or you closed it by accident, you can reopen it going at the menu bar to View->Docking Windows->Satellite Level.
Once you are confident that the signal levels are good enough, just wait to see RTK FIX and enjoy 🙂 If you don’t know how to install the GPS/GNSS antenna better, have a look at our simpleANT2B GNSS antenna installation guide.
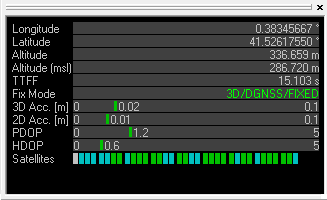
A second interesting window is the Data window, that you should find at the top right, otherwise at the menu bar go to View-> Docking Windows-> Data. It will show you information like GPS FIX and accuracy estimate.
-
RTK-SSR products
simpleSSR – Starter Kit incl. 1 year unlimited RTK corrections
799,00€ Select options This product has multiple variants. The options may be chosen on the product page -
RTK-SSR products
simpleSSR - 1 year unlimited SIM card + RTK corrections for 4G NTRIP Master
399,00€ Add to cart
 and
and 
